Assignment "CAMERALESS"
This assignment is possibly going to be the most thought provoking as I attempt to break down several decades of 35mm film camera use along with fairly recent adoption of digital and mirrorless SLR devices and the digital editing via proprietary apps.
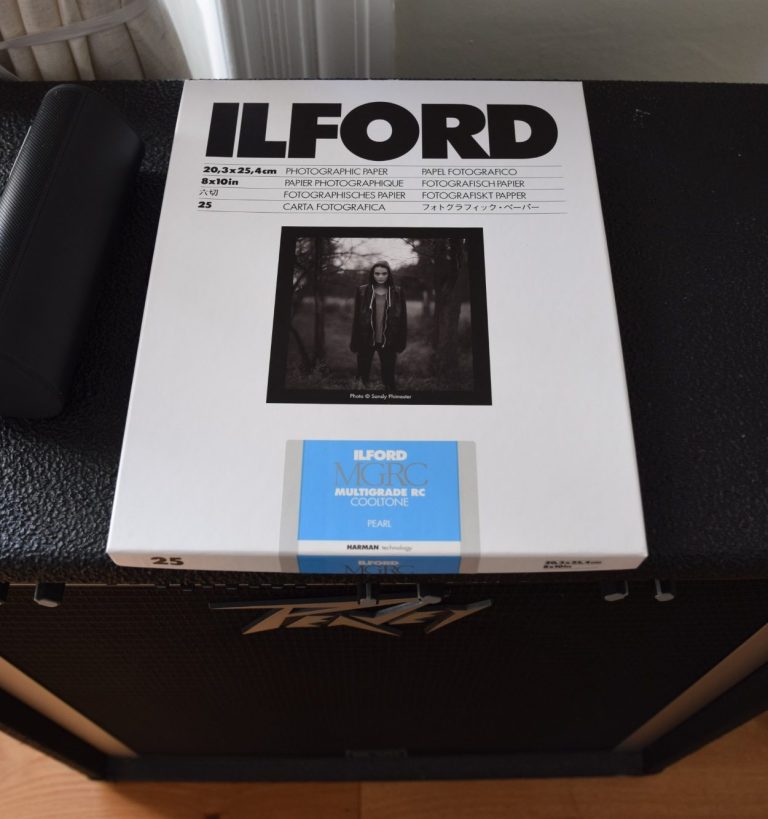
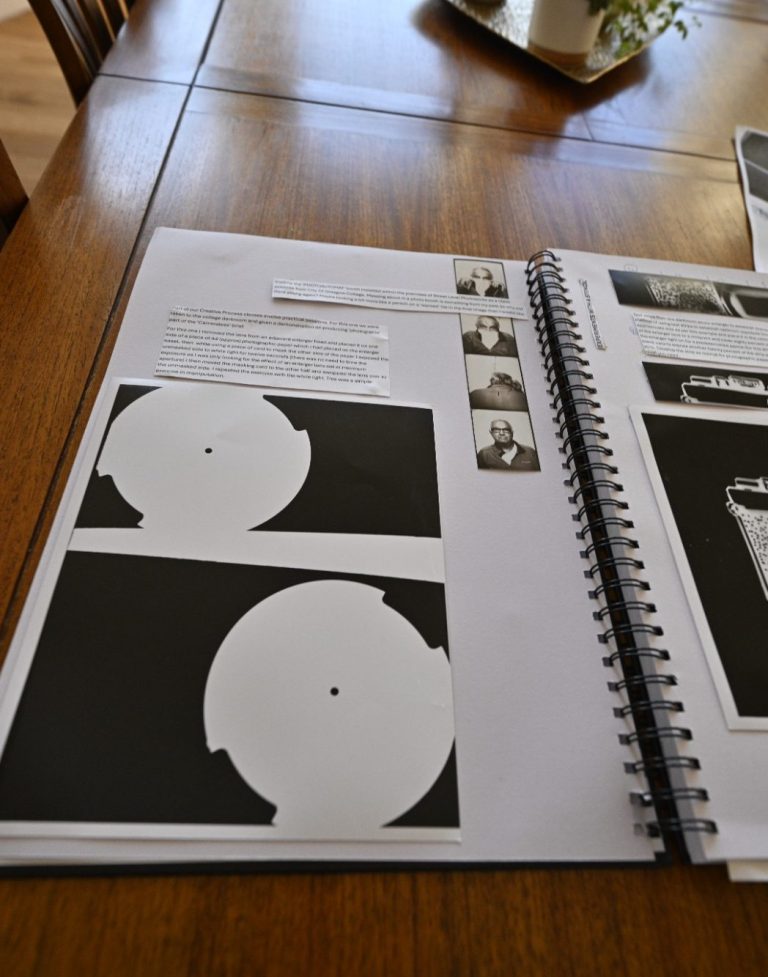
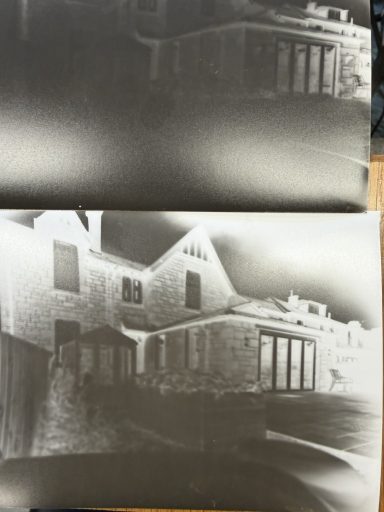
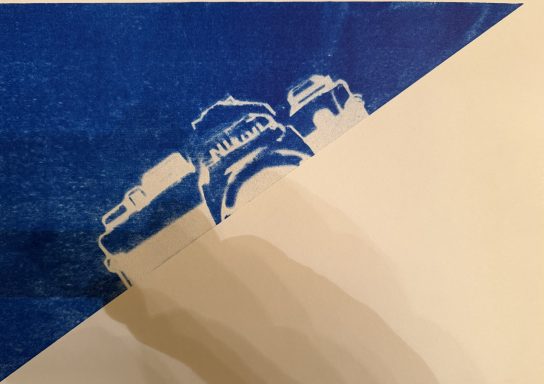
Class tutorials and subsequent practical sessions demonstrating the manipulation of light on ILFORD MGRC photographic paper placed on an enlarger easel and exposed to light. The light waves are disrupted by placing objects strategically or randomly in the path of the light, the effects change quite markedly depending on the material being used. I chose to quickly experiment with an enlarger lens borrowed from an adjacent enlarger just to see what happened. I placed the lens at one end of the paper and I masked one side of the photographic paper with a black mask. While using the piece of card to mask the other side of the paper I exposed the unmasked side to white light for twelve seconds (there was no need to time the exposure as I was only looking for the effect of an enlarger lens set at minimum aperture) I then moved the masking card to the other half and swopped the lens over to the unmasked side. I repeated the exercise with the white light. This was a simple exercise in manipulation. The results are posted in my journal and the above photographs are from the journal.
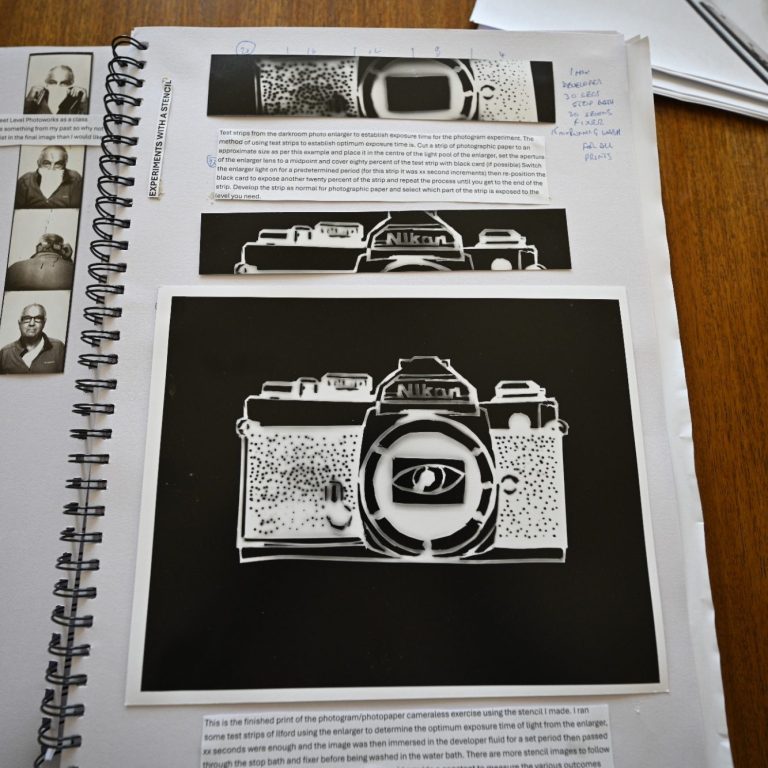
The next phase of the photogram for cameraless was to create images for an assignment. I decided to manufacture a stencil that could be used as a template for all the forms of cameraless that required a form of negative image, this was done to give me a constant to compare finished images against.
First excercise is in the darkroom and creating a photogram.
Produce test strips of MGRC photopaper on the darkroom photo enlarger to establish exposure time for the photogram experiment. The method of using test strips to establish optimum exposure time is. Cut a strip of photographic paper to an approximate size as per the above example and place it in the centre of the light pool of the enlarger, set the aperture of the enlarger lens to a midpoint and cover eighty percent of the test strip with black card (if possible) Switch the enlarger light on for a predetermined period (for this strip it was 5 second increments) then re-position the black card to expose another twenty percent of the strip and repeat the process until you get to the end of the strip. Develop the strip as normal for photographic paper and select which part of the strip is exposed to the level you need. The longest exposed section is the first one that was exposed to the light, the final test exposure has the shortest exposure time.
The finished print of the photogram/photopaper cameraless exercise using the stencil I made is in the journal. At this point I am slightly stuck with ICT /website regarding being able to insert images where I need them but will rectify and update as i get solutions. I ran some test strips of Ilford using the enlarger to determine the optimum exposure time of light from the enlarger, 20 seconds were enough and the image was then immersed in the developer fluid for one minute then passed through the stop bath and fixer for thirty seconds before being washed in the water bath. There are more stencil images to follow for the exercise as I thought using it throughout would provide a constant to measure the various outcomes against. The result of the photogram is good and has provided a clear print for my submission.
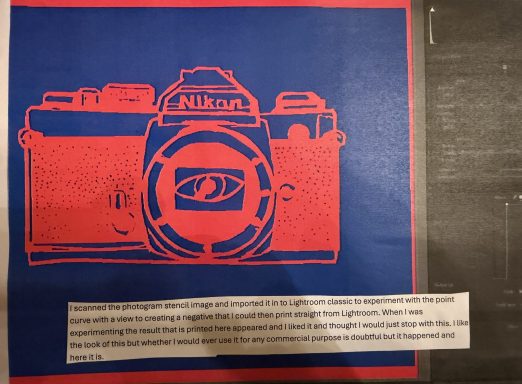
I scanned the photogram stencil image and imported it in to Lightroom classic to experiment with the point curve from the drop down menu with a view to creating a negative that I could then print straight from Lightroom. To use the point curve for this purpose is very straightforward, using the mouse pointer select the end dot of the right hand upper point and drag it vertically to the bottom of the graph, release and select the bottom left point and drag vertically it up to the top of the graph, at this point the image will be changing and all that is required is to move the points on the curve around to the deired outcome. When I was experimenting the result that is printed and placed in my journal appeared and I liked it and thought I would just stop with it. I like the look of it but whether I would ever use it for any commercial purpose is doubtful however it happened and here it is.
Moving on to exercise two of cameraless is to cyanotype coated paper.
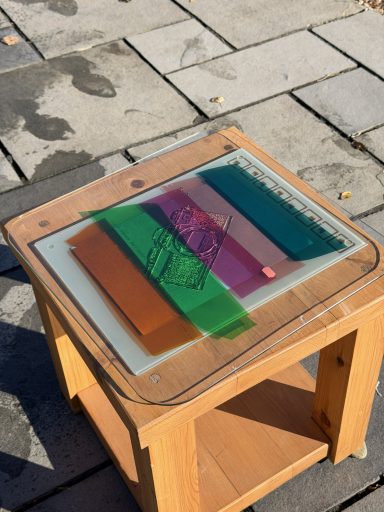
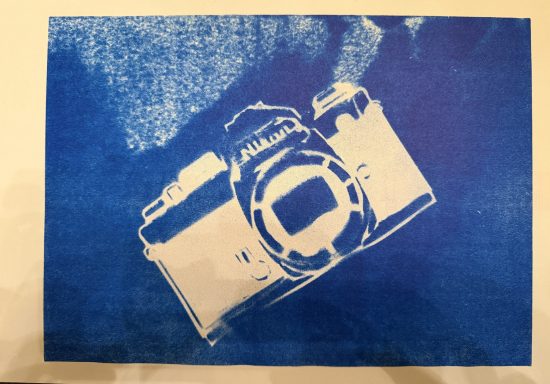
After the darkroom exercise I moved on to pre-prepared commercial cyanotype paper. I had to watch some Youtube videos to get an idea of using this medium and applied this learning to get this outcome. It is my first attempt and I was happy enough with it to use it in my journal. The process was as follows. Place the cyanotype paper on a flat surface such as the small coffee table I keep in my studio, position the stencil directly onto the paper in this experiment I noticed a small branch fallen off a tree lying beside the table so I picked it up and placed it to the side of the paper to see how it would turn out. I then used a sheet of clear glass to cover it all then placed it outside in the sun for fifteen minutes, washed it in clear water then added a small splash of Hydrogen Peroxide solution to the water and it turned very blue. The branch held the glass off the paper so the stencil lost some of the small detail off the body of the subject.
Next cyanotypes were experimenting to see what happens when you spray water over the top of the glass while exposing it to UV it produced nothing of note and the water leaked under the glass and partially ruined the paper. Next up was pouring oil and water on the top of the glass to cause the oil to bubble and deliver dark edges on the bubble. It didnt work it got too messy and the definition I was expecting never happened, it was only an exercise to see and wasn't the final image I wanted. Another experiment I tried was placing different coloured film gel strips I cut from a sheet I had managed to persuade LEE lighting to donate to me. I placed the gels immediately on to the stencil on top of the cyanotype then placed my glass cover on top. Interesting result returned, the right side of the cyanotype was a light blue/green strip and came up quite light in colour, followed by a purpleish gel that allowed more light through the darker purple which let a similar light through, but the final green and orange blocked all sunlight and didnt allow the cyanotype on the sheet to react to the UV.
The next cameraless experiment was with a pinhole camera.
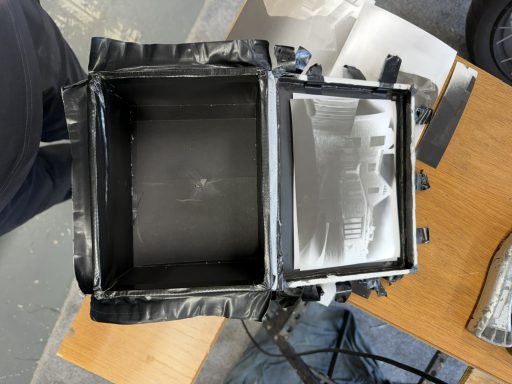
I manufactured a lightproof box specifically designed to hold 7X5 photo paper from the Ilford MGRC range. The box was seventeen inches long it turned out as this was the length of an offcut of foam board in my work room, I sprayed it matt black inside and out and drilled a one millimeter hole on the front face.
Note: the Ilford MGRC paper is around twenty five years old but I wanted to experiment to see what kind of image I could produce.
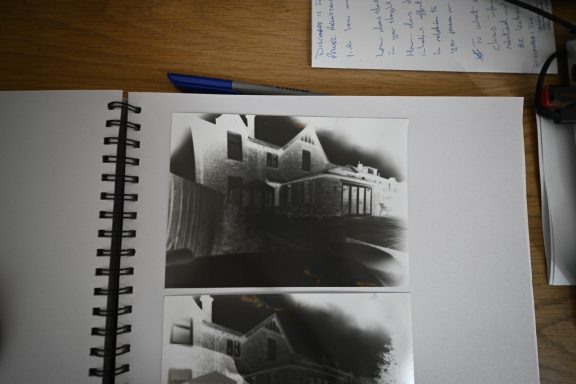
I taped a sheet of the 7X5 onto the backplate of the box and sat it in my dining room window and pointing at the garden. The exposure time for this was fifty minutes on a reasonably bright October day. After the pre set time I sealed the pinhole and took the whole assembly to the darkroom I built inside my garage. I opened the box up in the darkroom and processed the photopaper the same as described in my photogram exercise. It wasn't completely unsuccesful but the results can be seen in my journal, I carried on taking pinhole camera images of the back of my house for around five hours over two days. I did discover using the pinhole unit outdoors it only required around five minutes or so to expose the paper, It still didn't produce very good result as each sheet paper must have been degrading at different rates and consistency was impossible. At one point I was experiencing a degree of frustration and I created a pinhole in some blu tac that I had stuck over the lens of a torch and proceeded to write my name on a sheet then stick it in the developer, in further frustration I poured some undiluted developer solution directly into the pre mix developer tray and all of a sudden it developed almost like new paper. My conclusion for this is that the paper still has potential but requires a much stronger solution. I did try a few more images with the stronger solution and did get better results. For the final image I used new Ilford MGRC paper and experimented a bit more seriously by inserting test strips in the pinhole camera and processing as if I were doing negative based work in a darkroom, I also shortened the pinhole camera to about 100mm and increasedthe pinhole to two millimeters to create the final image that is in my paper journal. I also took the final image and scanned it into lightroom and using the point curve I made a negative and printed it out. This is in my journal.
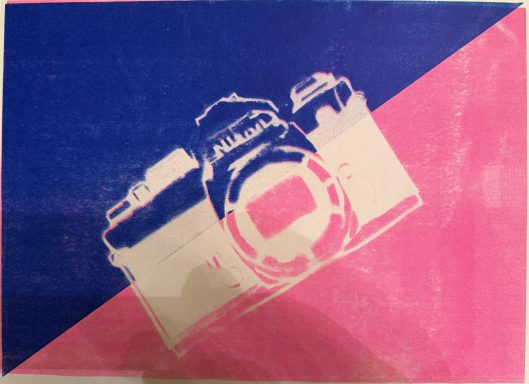
The final set of experiments for my cameraless are using a Risograph machine at City Of Glasgow College. The risograph is a form of screen printer that is similar in appearance and operation to a copier machine. To create the Riso version cameraless image is a simple operation as you place a copy of the image you wish to produce on a scanner and it transfers to the print drum. After this it is up to the creator to manipulate the image to their desired effect, I did this by placing a diagonal mask across my 'negative' and exposing it to the drum then moved the diagonal mask to the opposite side, replace the pink colour Riso drum with blue then operate the printer again and the final result is my image with one diagonally split blue side and one pink side.
"OVERLOOKED"
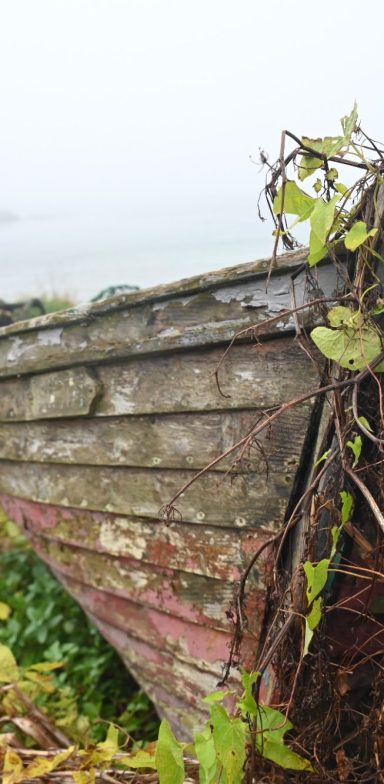
As the wooden vessels in the images sit rotting away where they sit, is it the end of the journey for them? Well not really but the end result is for science classes. If it is important to you then you can learn a little more here about biological decay
8th September 2026
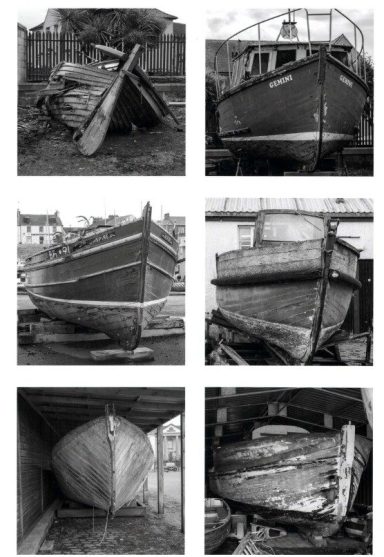
My first submission to the subject of creative Processes due on 8th September 2026. The brief was to photograph everyday objects that could fall into the category of 'Overlooked' and to submit them in the fashion or form of a typological study. As a coast dweller I am informed by the environment and view the boats in the images attached as being abandoned or overlooked in favour of a newer shinier vessel. These of course are beyond economical repair but could they have been repurposed in some way?
After discussions in class regarding the works of Ed Ruscha including his book Twenty Six Gasoline Stations and the works of Bernd and Hilla Becher I had the idea to capture images top left that I used in the exercise, among other things it gave me the excuse to get out and about and travel around the coast of South Ayrshire in search of some examples.
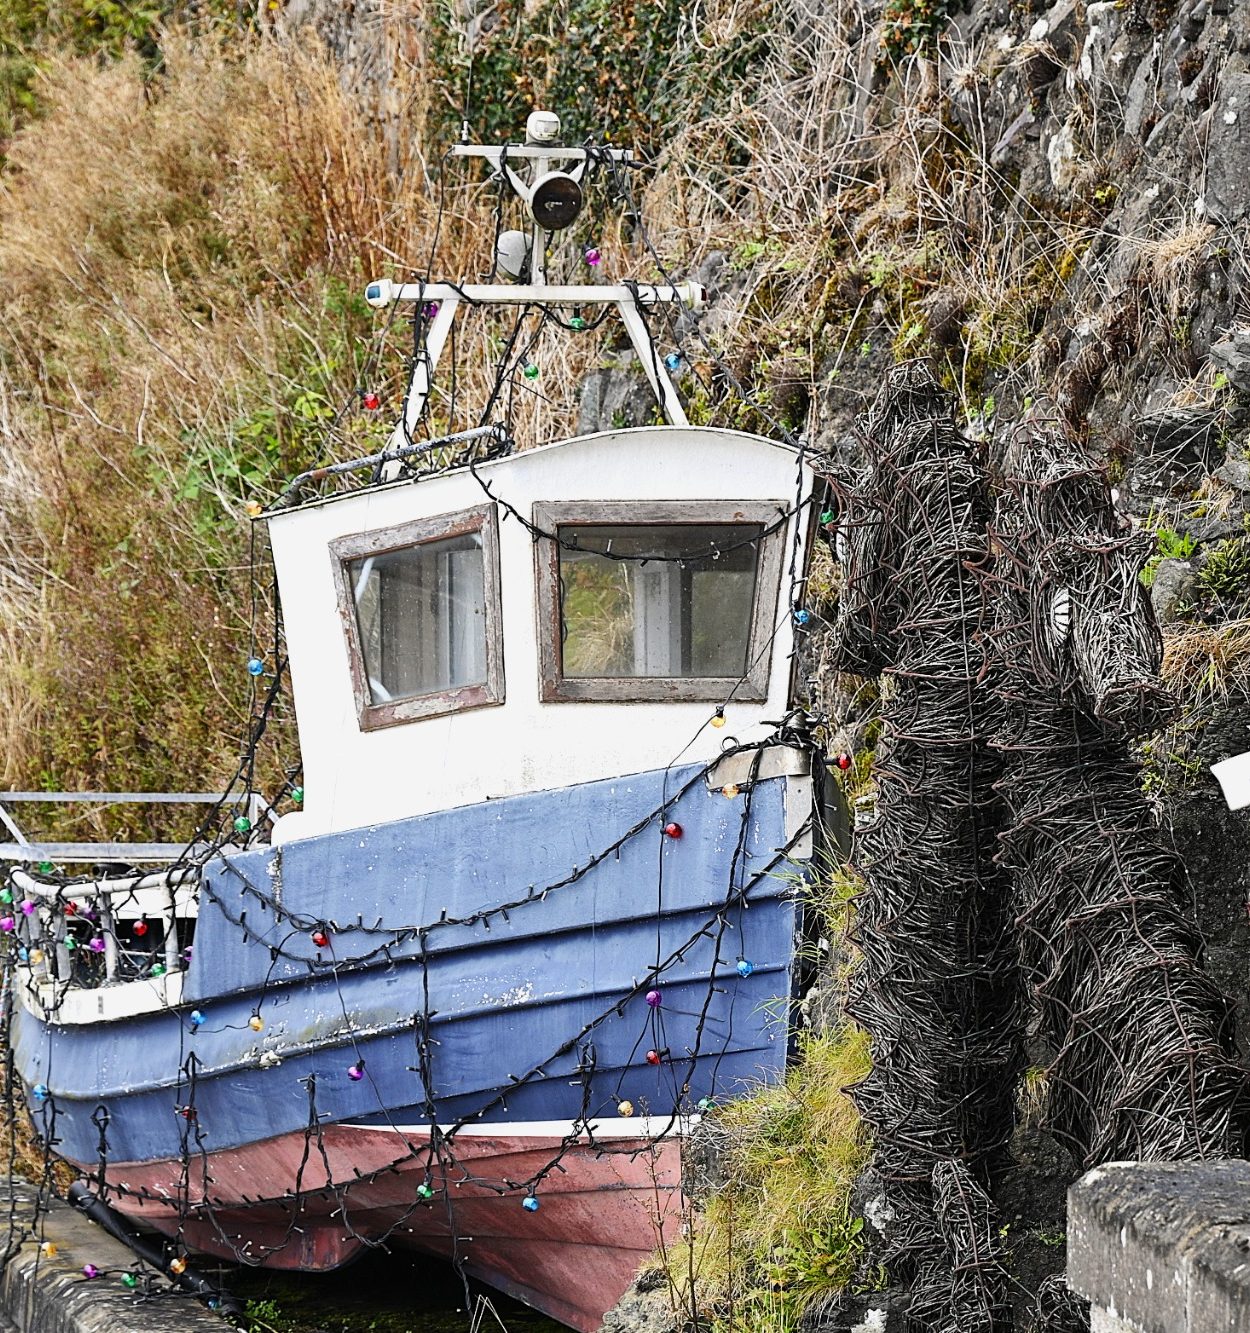
The lower image is from an impromptu trip I made to Islay while staying up in Inverary area for a short break, I spotted the small fishing boat slowly being claimed back by nature. The image is what inspired me to use the abandoned boats in my typology submission
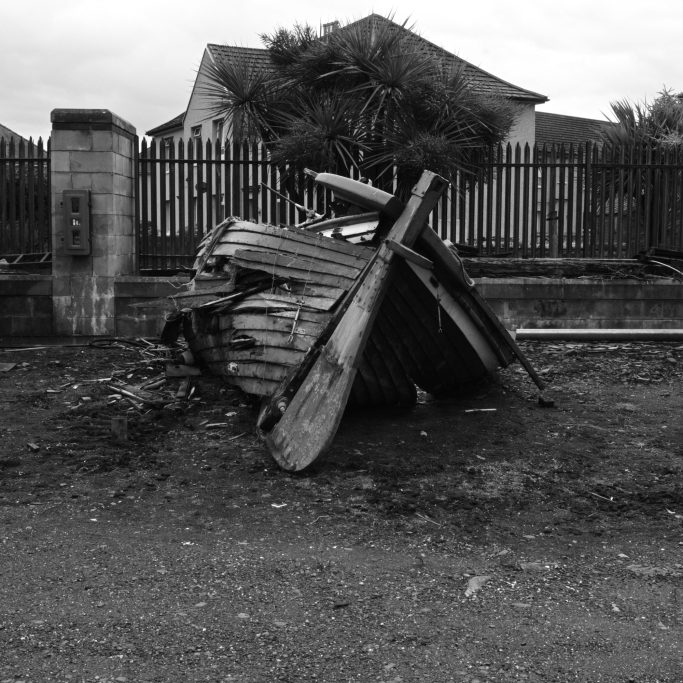
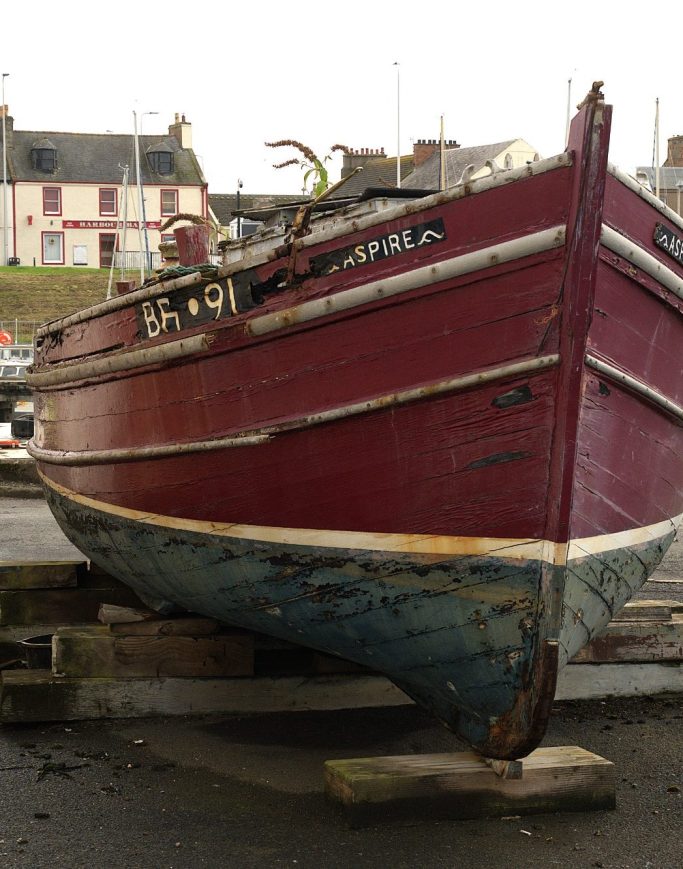
During my travels I photographed all the abandoned boats I saw in order to collect images to be used in the creation of my Typology
The images above are a selection but in the end I decided that the composition should be similar for the presentation and in black and white as I felt it had more impact. I also decided to select only wooden boats as their decay all had the same impact on the environment as opposed to the fibreglass built which will leave a permanent plastic presence where they sit.